If you’re looking for a free version of AttendMe, you can replicate the basic features of our attendance tracking workflow for free with a bit of manual setup. By the time you’ve completed this guide, you will have an attendance workflow that looks like this:
- Create a form in Google Forms
- Generate a QR code for your form
- Print or project your QR code
- Attendees/students scan your QR code to check-in
- Export your attendance data to Excel
NOTE: This guide requires that you have a Google account. If you do not, you can register for one for free here.
Step 1: Create a form in Google Forms
Our first step is to create a new form in Google Forms. This is the form that users will submit when checking into your event or class.
First, go to Google Forms and create a new form by clicking on the button beneath the “Start a new form” label but above the “Blank” label.

Clicking on the button will take you to a page where you can create a form that users must fill out in order to check into your event. Here are some common fields that you may want to ask for:
- Name
- E-mail Address
- Attendee or Student ID
You can also include extra information at the top of your form such as the date or location of your event.
If you’d like more help on how to edit your form, you can visit Google’s support article here: https://support.google.com/docs/answer/2839737
Step 1.5: Generate a URL for your form
Once you’re satisfied with the form that you’ve created, you’ll need to generate a URL. Click on the “Send” button in the top right corner.

This will bring up a modal. Click on the “link” tab as shown in the picture below.

Finally, click on the copy button to copy the link to your clipboard.

Step 2: Generate a QR code for your form
In this step, we will create a QR code for attendees/students to easily access your recently created form.
Go to qrcode-monkey.com to get started. Paste the URL of the form you previously copied.

Next, click “Create QR Code”.

Finally, click “Download PNG”.

Step 3: Print or project your QR code
In this step, you will make your QR code accessible for your students or attendees to scan. The most popular two options that people tend to utilize are:
- Printing your QR code and placing them in relevant locations
- Projecting your QR codes
Regardless of which option you decide to go with, you should make sure QR code is large and visible. For more tips on QR code printing, click here.
Step 3.5: Test your QR code!
Remember to always test your QR code! Use one of the scanners mentioned in the section below and scan your QR code to make sure that you can check-in to your event.
Step 4: Attendees/students scan your QR code to check-in
In this step, your users will scan the QR code and fill out the previously created form to check into your event. Make sure your users know how to scan a QR code so that they can check-in easily.
For Android, you can use this QR scanner to scan the QR code. For iOS, you can use the built in camera to scan the QR code.
Step 5: Export your attendance data to Excel
Now that you have responses, you have the ability to view the response data in a google sheet or Excel. First, go to the URL of your form. If you don’t remember it, you can find it by going to your Google Forms home page.
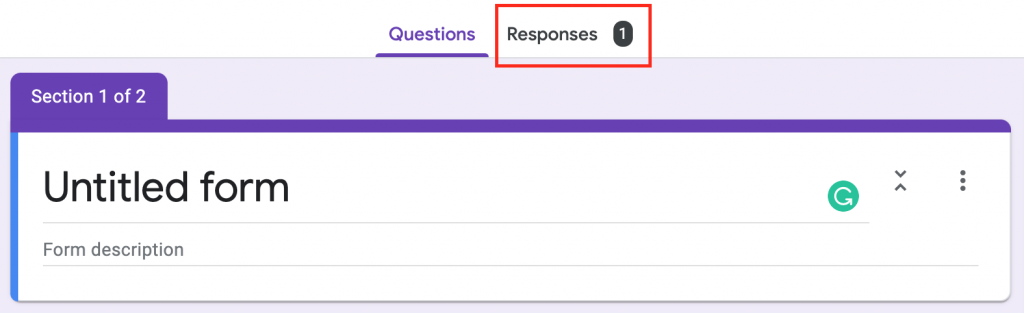
Once on your form, click on the Responses tab.
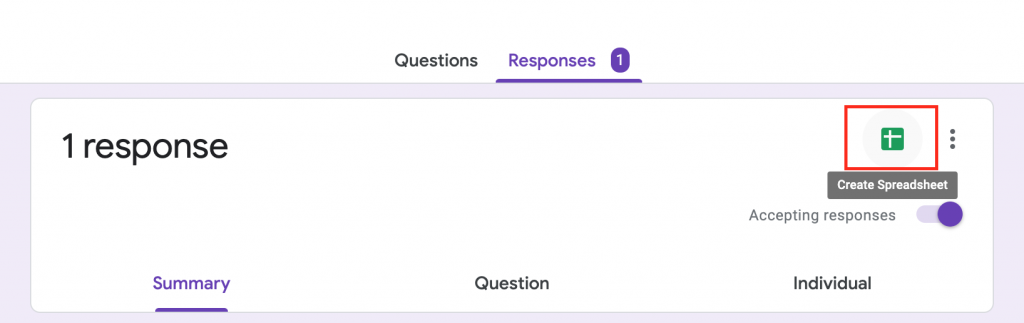
Once you’re on the Responses tab, click on the green Create Spreadsheet button.
Finally, click on the Create button.
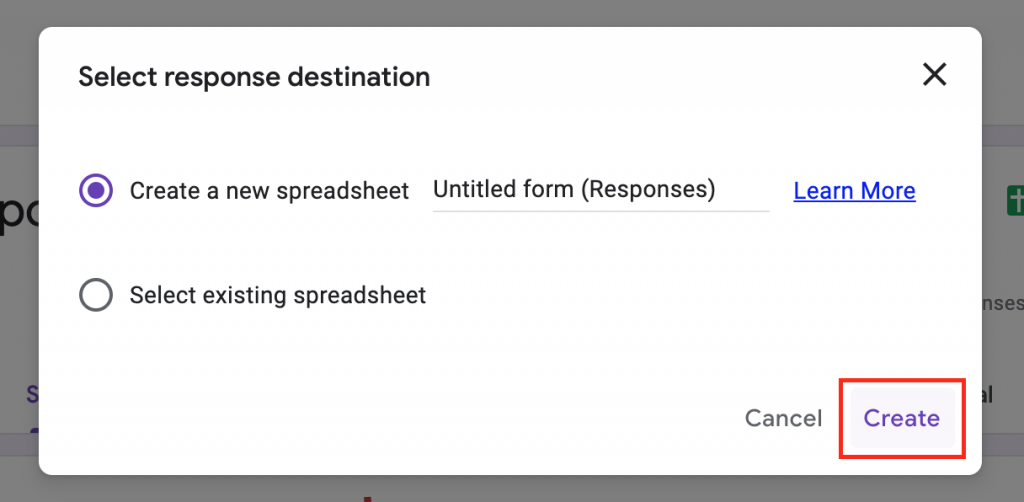
This will create a linked Google spreadsheet. Every time a user checks into your event, this spreadsheet will be updated. If you prefer to use Excel, you export the spreadsheet as a CSV and view the data in Excel.